Repair Flat Tyres: Step-by-Step Guide for E-MTB Riders
Flat tyres can happen to any mountain biker. Learn how to efficiently repair flat tyres on your electric mountain bike with our detailed step-by-step guide, ensuring you get back to your adventure in no time.
SAFETY TIPS AND GUIDES
12/21/20243 min read

Disclosure:
This post contains affiliate links. If you click and make a purchase, I may earn a small commission at no extra cost to you. Thank you for supporting my blog!
What You’ll Need
Before heading out, make sure you carry the following essential tools and supplies:
Spare Tube or Tubeless Repair Kit (depending on your setup)- KOM Cycling Tubeless Tire Repair Kit
Mini Pump or CO2 Inflator- Tiakia Mini Bike Pump Portable
Tyre Levers- Rehook Tyre Glider
Multi-tool (for removing wheels, if necessary)- Crankbrothers Multi-17 Mini Tool
Patch Kit (for backup)- VeloChampion Glue Bike Tyre Puncture Repair Kit
Gloves (optional but helpful)
Step 1: Assess the Damage
Stop Safely: Find a flat, stable spot off the trail to avoid obstructing others.
Inspect the Tyre: Check for visible punctures, tears, or objects like thorns or glass embedded in the tyre.
If the tyre is tubeless, look for escaping sealant or air bubbles.
Step 2: Remove the Wheel
Shift to the Smallest Cog: For the rear wheel, shift to the smallest gear to make removal easier.
Release the Axle: Use your multi-tool or release the thru-axle lever to detach the wheel. Ensure the bike is stable to prevent damage to the motor or derailleur.
Step 3: Remove the Tyre
Deflate the Tyre: If it still has air, completely deflate it using the valve.
Use Tyre Levers: Insert a tyre lever under the bead of the tyre and hook it to the rim. Use a second lever to work around the rim and fully unseat one side of the tyre.
Inspect Inside the Tyre: Check for sharp objects and remove them to prevent future flats.
Step 4: Repair the Tyre
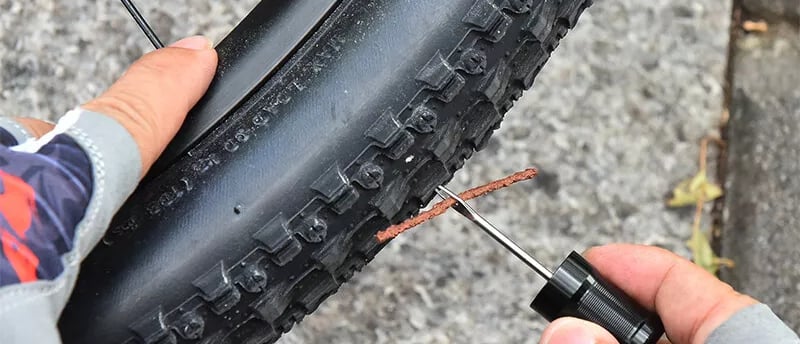
For Tubeless Tyres:
Seal Small Punctures: Use a tubeless plug ("bacon strip") to fill the hole. Insert it with the plugging tool and leave it in place.
Seal Larger Tears: For gashes, place a tyre boot or patch on the inside of the tyre.
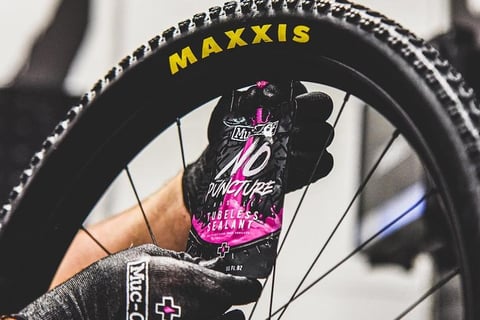
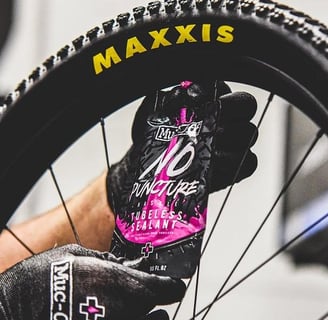
Reinflate: Add sealant (Muc-Off 822 No Puncture Hassle Tubeless Sealant) if necessary, then use your pump or CO2 inflator to reinflate the tyre to the appropriate pressure.
For Tubed Tyres:
Replace the Tube: Remove the damaged tube and insert a new one, ensuring it sits evenly inside the tyre.
Patch the Tube: If you don’t have a spare tube, locate the puncture, roughen the area, apply glue, and affix a patch.
Step 5: Reinstall the Tyre and Wheel
Seat the Tyre: Push the tyre bead back onto the rim, starting at the valve. Use your hands or tyre levers if needed, but be cautious not to pinch the tube.
Reinflate: Pump the tyre to the recommended pressure, ensuring the bead is fully seated.
Reattach the Wheel: Align the wheel with the frame and secure it using the thru-axle or quick-release mechanism.
Check Alignment: Spin the wheel to ensure it’s seated properly and doesn’t rub against the frame or brakes.
Step 6: Test Before Riding
Check the Pressure: Confirm the tyre pressure is appropriate for the terrain.
Ensure the Repair Holds: Gently test the repaired tyre by riding a short distance to ensure it’s secure.
Preventative Tips
Run Tubeless: Tubeless tyres with sealant can self-repair small punctures.
Carry a Patch Kit: Always have a backup solution in case of multiple punctures.
Check Tyres Regularly: Inspect for wear, cracks, and embedded debris before each ride.
Repairing a flat tyre on the trail doesn’t have to be daunting. With the right tools and knowledge, you’ll be back riding in no time, ready to tackle more adventures. Always practice these steps at home to ensure you’re confident when the need arises on the trails!